Tight Shoes Pinching Your Feet? Why I Put Mine in the Freezer
- Lifestyle
- 16 Sep, 2026
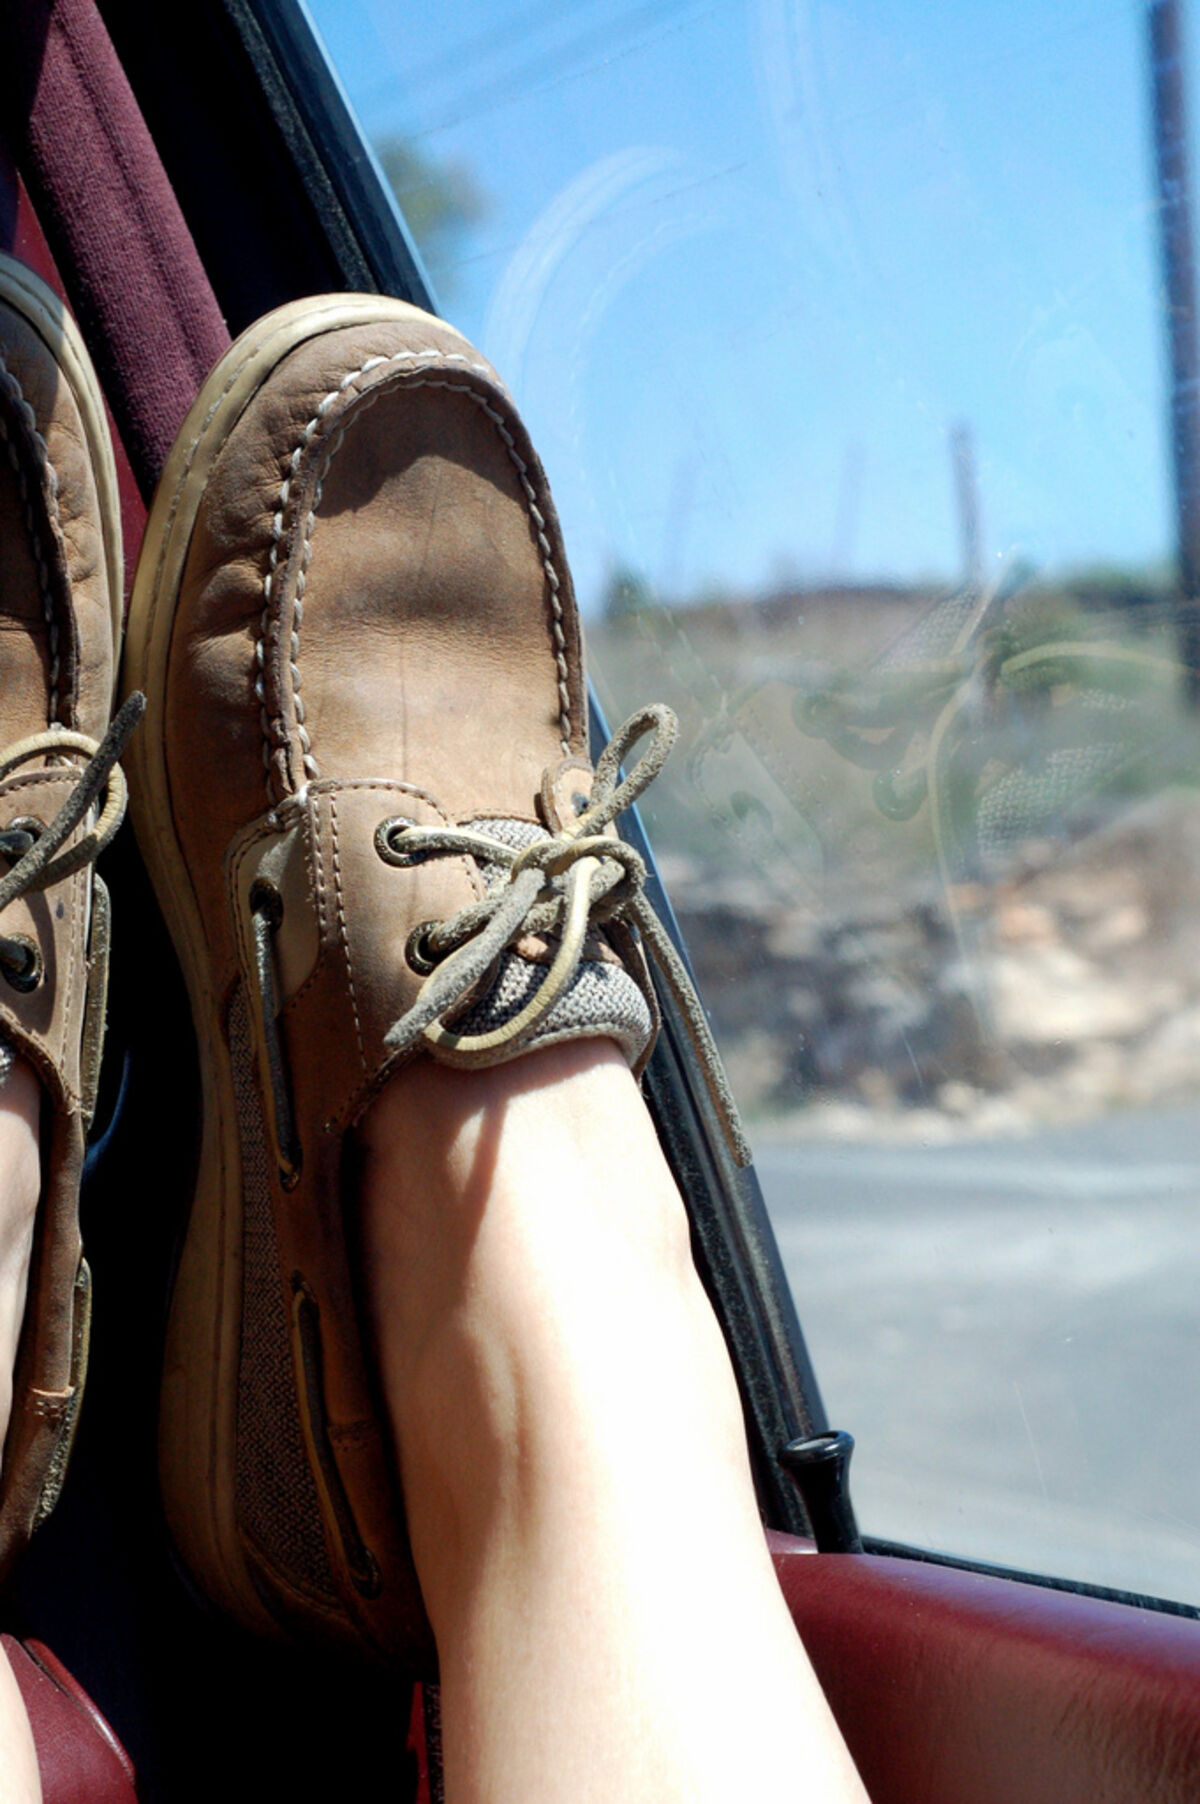
We've all been there. You buy a brand new pair of shoes—maybe they were on clearance, or maybe you just had to have them—only to realize they are a half-size too small or uncomfortably narrow across the toes. For years, my solution was simply to suffer through the break-in period, slapping on bandages to deal with the inevitable blisters.
I even tried wearing them around the house with three pairs of thick wool socks, which just made my feet incredibly sweaty and uncomfortable. Then, a friend told me about a bizarre-sounding trick: putting your shoes in the freezer.
At first, I thought she was joking. Why would I put my expensive new sneakers next to my frozen peas? But the science behind it actually makes perfect sense, and after trying it myself, it completely saved a pair of shoes I was about to donate.
Here is exactly how it works and how you can do it too.
The Science of Expanding Water
The core principle behind this trick is something you probably learned in middle school science class: water expands when it freezes. When liquid water turns into solid ice, its volume increases by about 9%.
By utilizing this natural expansion, you can create a slow, gentle, and incredibly powerful stretching force from the inside of your shoe outward, naturally expanding the tight materials without tearing them.
What You Need
To pull this off without ruining your shoes (or your freezer), you just need a few basic things:
- Your tight shoes: This trick works best on natural materials like leather, suede, and canvas. Synthetic materials can stretch too, but they might bounce back to their original shape over time.
- Zip-lock bags: You need two strong, leak-proof freezer bags. I prefer using the heavy-duty ones to ensure no water escapes.
- Water: Just plain tap water.
- Space in your freezer: Make sure you clear out a spot where the shoes can sit flat overnight.
Step-by-Step Instructions
- Fill the Bags: Take your zip-lock bags and fill them about halfway with water. Before sealing them, carefully squeeze out as much excess air as possible. You want the bags to be somewhat flexible, like a water balloon.
- Double Bag (Optional but Recommended): To be completely safe against leaks, I always place the water-filled bag inside a second empty zip-lock bag. It gives me peace of mind that my shoes won't get soaked if the inner bag gets a tiny puncture.
- Insert the Bags into the Shoes: Take the water bags and gently push them deep down into the toe box of your shoes, or wherever the shoes feel tightest. Make sure the bag is firmly pressed against the inside of the shoe so that when it expands, it pushes against the material.
- Freeze Overnight: Place the shoes in the freezer and leave them there until the water is completely frozen solid. This usually takes about 6 to 8 hours, so leaving them overnight is perfect.
- Thaw and Remove: When you take the shoes out of the freezer, don't try to rip the ice bags out immediately—they will be stuck. Let the shoes sit at room temperature for about 20 to 30 minutes. Once the ice begins to melt slightly, the bags will easily slide out.
The Results
When you slip your feet in afterward, you will immediately notice the difference. The tight spots should feel significantly relaxed, giving your toes the breathing room they desperately need.
If they are still a bit too snug, you can simply repeat the process a second time. It’s a completely free, effortless way to customize the fit of your footwear, and it definitely beats spending days walking around in pain!