The Bizarre Walnut Trick That Makes Scratches on Wood Furniture Disappear
- Lifestyle, DIY
- Exienent
- · Updated
Can a walnut really hide a scratch on wood furniture? For superficial scratches, yes: rubbing a raw, unsalted walnut over the mark releases natural oils that darken the exposed, light-colored wood so it blends into the surrounding finish. It costs almost nothing, takes about 10 minutes, and keeps harsh chemicals out of the house.
Picture it: you drag a cardboard box across a beautiful, dark wood dining table, assuming the bottom is smooth. When you lift the box, there's a long, glaringly bright scratch running right across the grain.
The first instinct is to head to the hardware store for an expensive wood stain marker and try to guess the exact shade of "Espresso Oak." But there's an old, bizarre carpenter's trick that skips the harsh chemicals and specialized stains for superficial scratches. The best wood repair kit may already be sitting in your pantry.
It sounds like rubbing a nut on an expensive table would just make a sticky mess. In practice, the method can work remarkably well on the right kind of scratch.
Why Does a Walnut Hide Scratches on Wood?
A walnut hides scratches because of its natural oils, not magic. Walnuts are packed with heavy, natural oils. When you rub the nut against the sharp edges of a scratch, the wood fibers absorb those oils. The oil slightly darkens the exposed, light-colored wood inside the scratch, helping it blend in with the surrounding finished wood.
For a scratch on a wooden table, floor, or chair, it is one of the cheapest and easiest ways to hide it.
How Do You Fix a Wood Scratch With a Walnut?
Fixing a wood scratch with a walnut takes four simple steps: clean, rub, wait, and buff.
1. Prep the Scratch
Before you start rubbing food into your furniture, make sure the area is clean. Give the scratch a quick wipe with a microfiber cloth or a damp paper towel to remove any loose dust or debris. You want the oils to soak into the wood, not into the dirt.
2. Grab a Raw Walnut
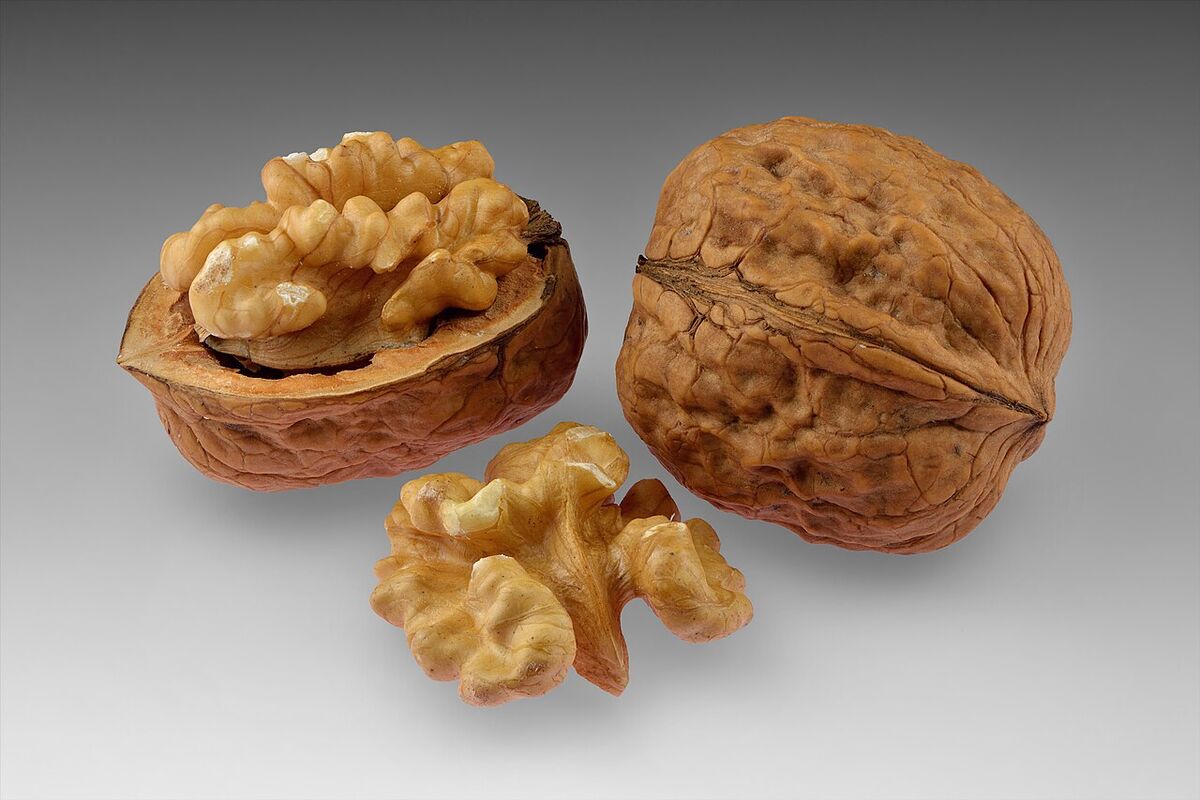
Go to your kitchen and grab a walnut. You need the actual meat of the nut, not the hard shell. Crucial warning: Do not use roasted, salted, or flavored walnuts! You need a plain, raw, unsalted walnut half for this to work correctly.
3. Rub It In
Take the walnut and rub it diagonally right over the top of the scratch. You want to press down fairly firmly, rubbing back and forth a few times.
You aren't trying to fill the scratch with pieces of the nut. The goal is to squeeze the natural oils out of the walnut and force them down into the exposed wood grain inside the scratch.
4. Wait and Wipe
Once you have rubbed the scratch a few times, step back and leave it alone for about 5 to 10 minutes. This gives the natural oils enough time to soak deep into the wood fibers and darken them.
After waiting, take a clean, soft cloth and gently buff the area. This removes any leftover oils sitting on the surface and polishes the wood.
What Results Can You Expect?
The bright, glaring line can become nearly invisible, blending into dark wood grain. The walnut doesn't fill the groove itself, though: up close and at certain angles in the light, the physical indentation in the clear coat may still be visible. The fix is about color, not depth.
This little pantry hack can save a trip to the store and keep harsh chemicals out of your house. If you have a scuffed wooden floorboard or a scratched coffee table, raid your snack cabinet and grab a walnut. It is a completely natural fix that is well worth trying before you buy anything!