The Surprising Reason Your Sneakers Have That Extra Hole
- Lifestyle, Health
- 11 Sep, 2026
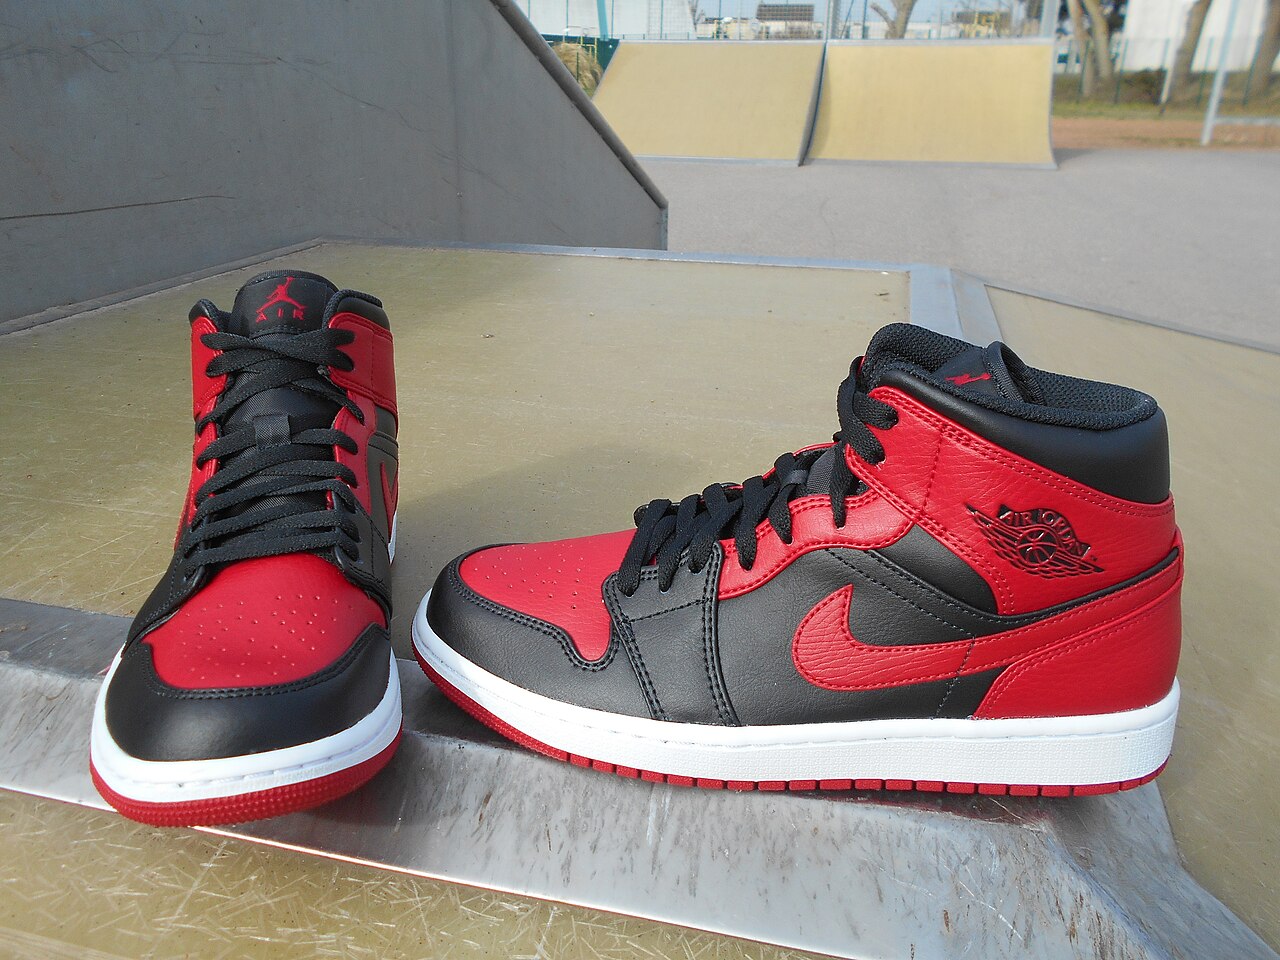
If you look closely at almost any pair of running shoes or sneakers in your closet, you will probably spot something weird: an extra shoelace hole at the very top, near your ankle.
For the longest time, I completely ignored it. I always assumed it was just for people with weirdly shaped feet, or maybe just a stylistic choice by the manufacturer. If I ever tried to actually lace my shoes through it, the laces ended up way too short to tie a proper bow anyway.
But recently, I started picking up running again, and my heels were slipping out of my shoes with every step, giving me terrible blisters. I complained to a friend who is a marathon runner, and she asked me the magical question: "Are you using the extra eyelet for a heel lock?"
It turns out, that extra hole is not a mistake. It is specifically designed for a lacing technique called a heel lock (or a "runner's loop"), and learning how to use it completely changed how my shoes fit.
What Does the Extra Hole Actually Do?
When you buy a pair of sneakers, the factory lacing usually stops right below that extra top hole. This is fine for casual walking. But when you are running, hiking, or playing sports, your foot naturally wants to slide forward and backward inside the shoe.
This sliding causes friction, and friction causes painful blisters on your heel. It also means your toes get jammed into the front of the shoe, which can lead to bruised toenails (yikes).
The extra eyelet is positioned further back toward your ankle bone. When you use it correctly, it creates a tight loop that acts like a seatbelt for your foot. It locks your heel firmly into the back of the shoe, preventing any sliding whatsoever.
How to Tie a Heel Lock
You do not just thread the lace through the hole like normal. Here is the secret technique to tie a proper heel lock:
- Lace Normally: Lace your shoes up normally until you reach the second-to-last hole on both sides.
- Create the Loops: Take the left shoelace and run it straight up on the outside of the shoe, feeding it into the top extra hole on the same side. Leave a small loop sticking out. Do the exact same thing on the right side. You should now have two little "bunny ears" loops on the outsides of your shoe.
- Cross and Thread: Now, take the very end of your left shoelace, cross it over the tongue of your shoe, and thread it through the loop you created on the right side. Take the right shoelace, cross it over, and thread it through the left loop.
- Pull Down and Tighten: This is the most important part! Instead of pulling the laces straight up to tighten them, pull them down and backwards towards your heel. You will immediately feel the loops tighten around your ankle, pulling the heel cup of the shoe snugly against your foot.
- Tie as Normal: Once it is locked in tight, just tie your normal bow!
It sounds a bit complicated when written out, but once you do it once, it takes two seconds.
Since I started using the heel lock method, my blisters have completely disappeared, and my running shoes feel like they were custom molded to my feet. So, next time you put on your sneakers, stop ignoring that extra hole and give your heels the support they deserve!