The Ultimate Hack for Preventing Apple Slices from Browning: The Salt Water Soak
- Lifestyle
- Exienent
- · Updated
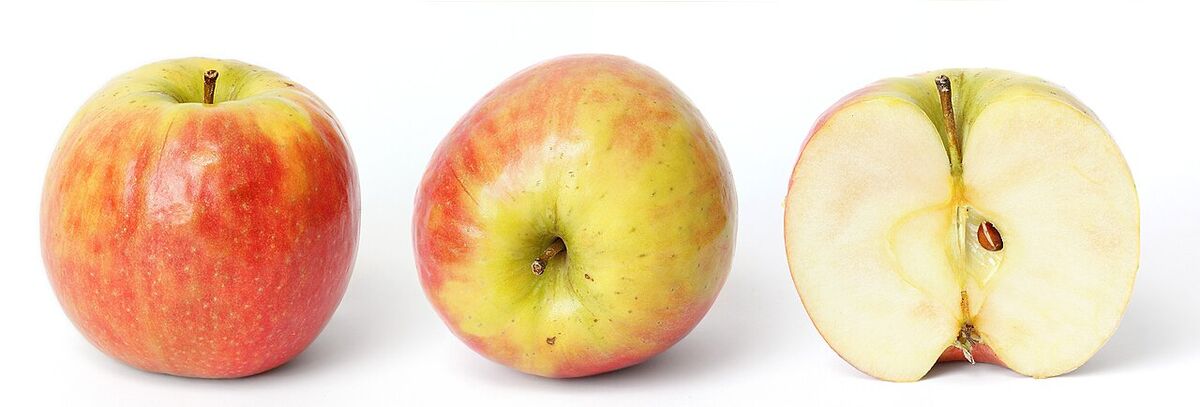
The easiest way to keep apple slices from browning is a short salt water soak: about half a teaspoon of salt in a cup of cold water, 5 to 10 minutes of soaking, then a quick rinse. When done correctly, the slices can look freshly cut for hours—even days—without tasting salty.
It's a familiar letdown: you carefully slice a beautiful, crisp apple to pack for lunch or serve as an afternoon snack, but by the time you go to eat it, the slices have turned an unappetizing, rusty brown. They look sad, slightly mushy, and suddenly unappealing.
The classic fix is lemon juice. Tossing the slices in lemon juice does prevent browning, but it also makes the apples taste intensely sour and overpowers the fruit's natural sweetness—a real drawback for a kid's lunchbox. The salt water soak avoids that problem.
Salt on apples sounds strange at first. Won't they taste terrible? Not if you follow the rinse step below.
Why Do Apples Turn Brown?
Apples turn brown because of a chemical reaction called enzymatic browning.
When you cut into an apple, you damage its cells, exposing an enzyme called polyphenol oxidase (PPO) to the oxygen in the air. When PPO and oxygen mix, they react and create melanin, which is the brown pigment you see on the surface of the fruit. It's totally safe to eat, but it looks unappealing and changes the texture slightly.
How Does Salt Water Stop Apples from Browning?
Salt water stops browning by neutralizing the enzyme: salt (sodium chloride) happens to be a fantastic natural inhibitor for PPO.
Here is the exact method to keep your apples crisp and white:
Step 1: Prepare the Brine
Get a medium-sized bowl and fill it with about one cup of cold water. Add just half a teaspoon of table salt (kosher salt works fine too, but you might need slightly more since the grains are larger). Stir it around until the salt is completely dissolved.
Step 2: Slice and Soak
Cut your apple into slices. As soon as you slice them, drop them directly into the salt water bath. Make sure all the exposed flesh is submerged.
Let the apple slices soak in the brine for 5 to 10 minutes.
Step 3: Rinse and Store
This is the most crucial step! After the soak, drain the apples and give them a very quick rinse under fresh, cold running water. Rinsing washes away the salt from the surface of the apple, ensuring they don't taste salty when you eat them, but the enzyme-blocking effects remain.
Pat the slices completely dry with a paper towel and store them in an airtight container or a zip-top bag in the fridge.
Is Salt Water Better Than Lemon Juice?
In my opinion, yes—compared with alternatives like lemon juice, honey water, or Sprite, the salt water soak has a few clear advantages:
- No Flavor Alteration: Because you use a very weak brine and rinse the slices afterward, the apples keep their natural, sweet flavor.
- Longevity: Apples treated this way can stay bright white and crisp in the fridge for up to a week, which makes meal prepping for the week much easier.
- It's Cheap: You already have water and salt in your kitchen. No need to buy extra lemons or special fruit-saving powders.
Next time you are packing a lunchbox or prepping a fruit platter for a party, skip the lemon juice and try this simple salt water hack instead.