How to Make Crystal Clear Ice Cubes at Home Using Directional Freezing
- Lifestyle
- Exienent
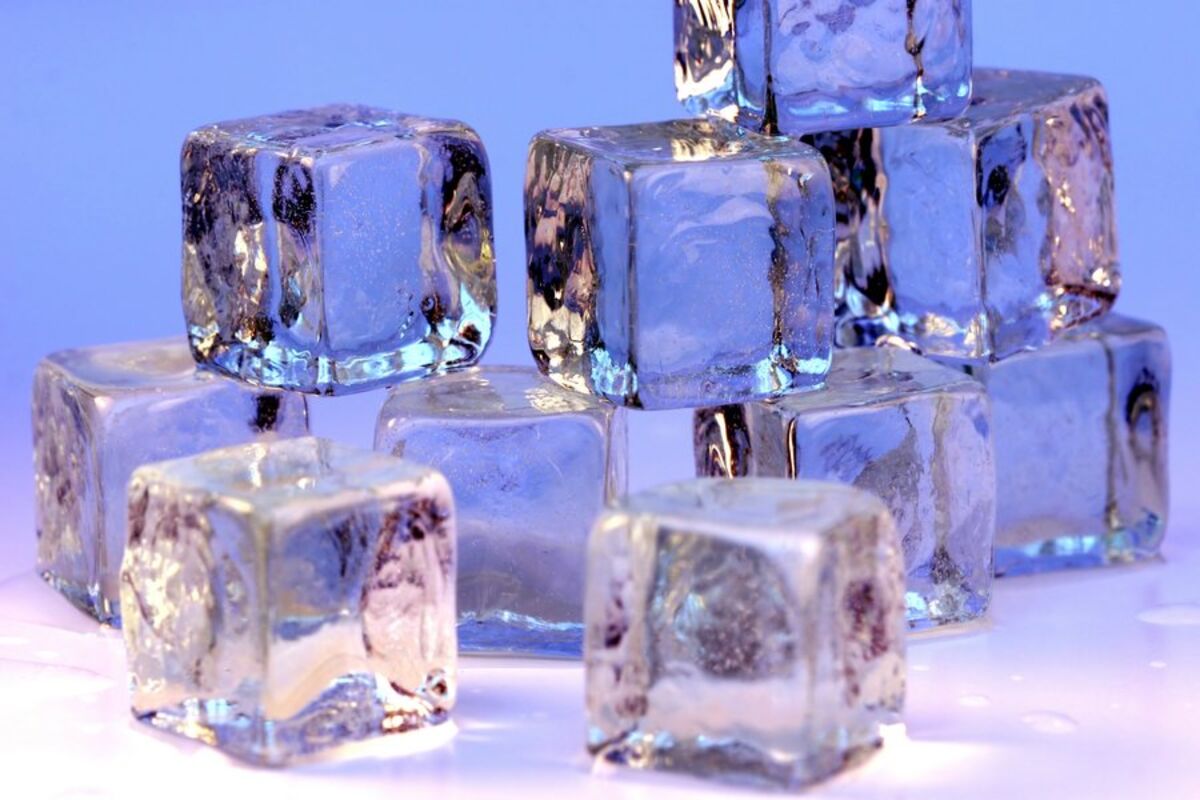
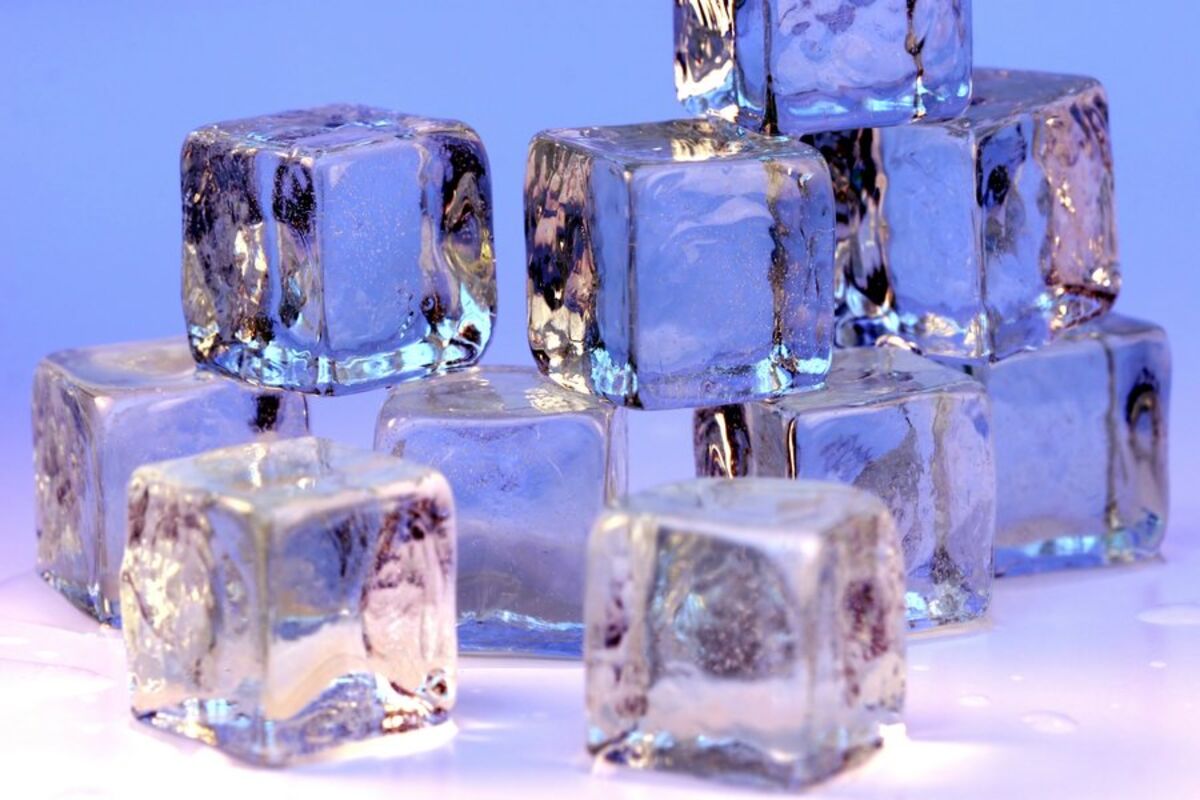
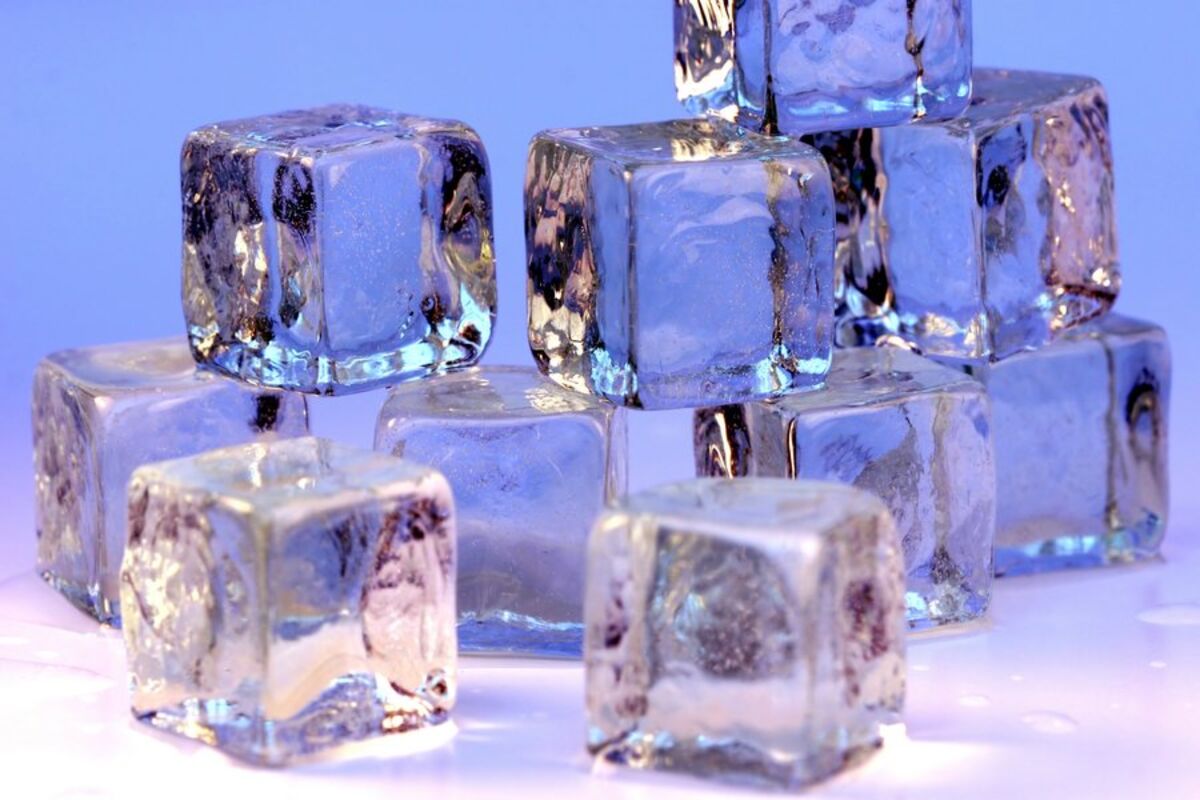
Have you ever poured a beautiful drink at home, only to have it ruined by a cloudy, white ice cube that quickly melts and waters everything down? If you have been to a fancy cocktail bar recently, you have probably noticed those massive, perfectly transparent ice cubes that look like solid glass. They don't just look amazing; they also melt significantly slower, which is why they are the gold standard for high-end drinks.
You might assume you need an expensive, specialized clear ice maker to get those results at home. But you don't! The secret to making crystal clear ice cubes is a scientific principle called directional freezing, and you can easily replicate it using an inexpensive hard-sided cooler that you probably already own.
The reason normal ice cubes come out cloudy is how they freeze in a standard ice tray. The cold air hits the water from all sides—top, bottom, and sides—at the same time. As the water freezes from the outside in, it pushes all the trapped air bubbles, minerals, and impurities toward the center. With nowhere left to go, those impurities get trapped right in the middle, creating that cloudy white center.
Directional freezing completely changes the game. By forcing the water to freeze slowly from only one direction (the top down), the ice pushes all the trapped air and impurities downward into the liquid water below. If you stop the freezing process before the water at the very bottom freezes, you are left with a block of absolutely pristine, crystal-clear ice on top.
Here is exactly how you can do this at home.
First, you need a small, hard-sided cooler—the kind you might take to a picnic, but small enough to fit inside your freezer. The cooler acts as insulation, preventing the cold air from reaching the sides and bottom of the water.
Fill the cooler with regular tap water. You don't need to use distilled water or boil the water twice (which is a popular but ineffective myth). The directional freezing process is what matters, not the water itself. Leave an inch or two of space at the top to allow for expansion.
Place the cooler in your freezer, without the lid. This is the crucial step. Because the sides and bottom are insulated by the cooler, the cold air can only hit the surface of the water. The freezing process will start at the top and slowly work its way down.
Let it freeze for about 24 hours. The timing will vary depending on your freezer's temperature and the size of the cooler, but you don't want the water to freeze completely solid. You want to take it out when the top two-thirds is a solid block of ice, and the bottom third is still liquid.
When you take the cooler out of the freezer, let it sit at room temperature for a few minutes. Turn it upside down over your sink. The block of ice should slide out, and the unfrozen water (which contains all the impurities) will drain away.
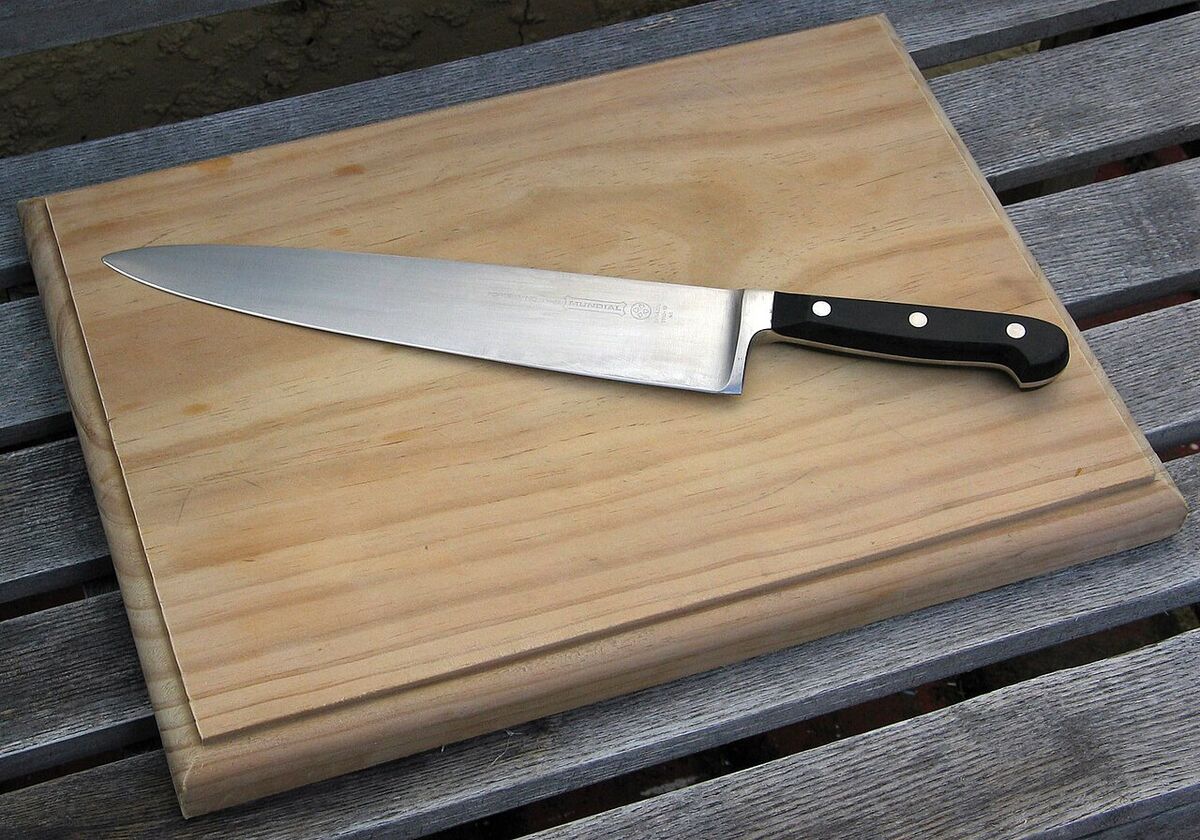
What you are left with is a large block of perfectly clear ice. From there, you can place it on a cutting board and carefully use a serrated knife and a mallet to score and crack the ice into large, stunning cubes for your next drink.
It takes a little bit of patience and practice, but once you try it, you will never want to go back to cloudy ice cubes again!